I started to model half of it using a rectangle and extruding, insetting and chamfering polys and edges.
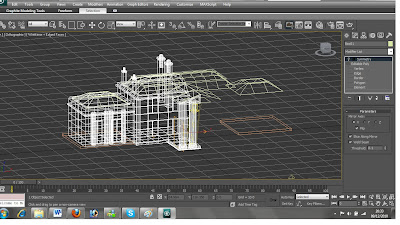
I could now use the symmetry tool to mirror the other side of the house. I have to open up the editor and adjust which axis I want to mirror along and then move the mirror.
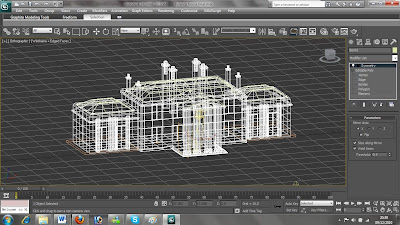
I could now create the ground that it would sit on. The house sits along a gravel driveway with grass infront and behind it. I did this the same way as in the models before, by creating a thin box and adding a material to it. A bump was added with the same bitmap to give a realistic bump for both the gravel and the grass.
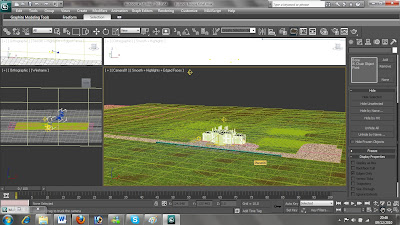
I also added a smoke bump to the gravel to make it a bit more realistic.
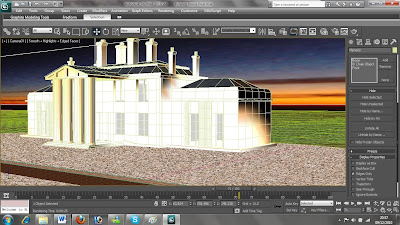
The next job was to add a material to the house. The hardest part was getting the windows to look realistic. I wanted them to be dark yet still reflect the surroundings. I decided to add a ray trace reflection to them and tint it slighlty so it reflected much darker than the surroundings.
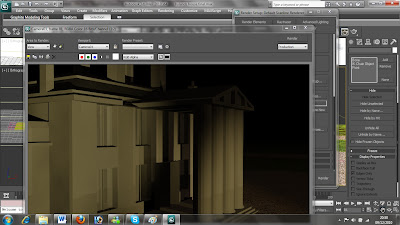
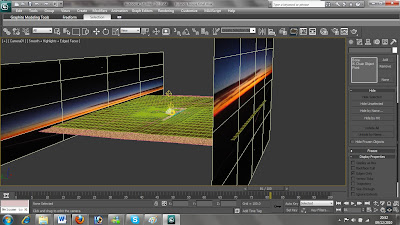
As it reflected it showed that there was nothing opposite the house as this was out of shot. I added another 2 more planes, one behind the house, one infront, and assigned another sunset scene to them so it appeared that the windows were reflecting the opposite horizon too.
I am pleased at how this turned out. This was the modelling complete.
No comments:
Post a Comment